How to Share an Invitation Website Using One Simple Link
By Link of Time • Published Feb 10, 2026 • Updated Feb 16, 2026
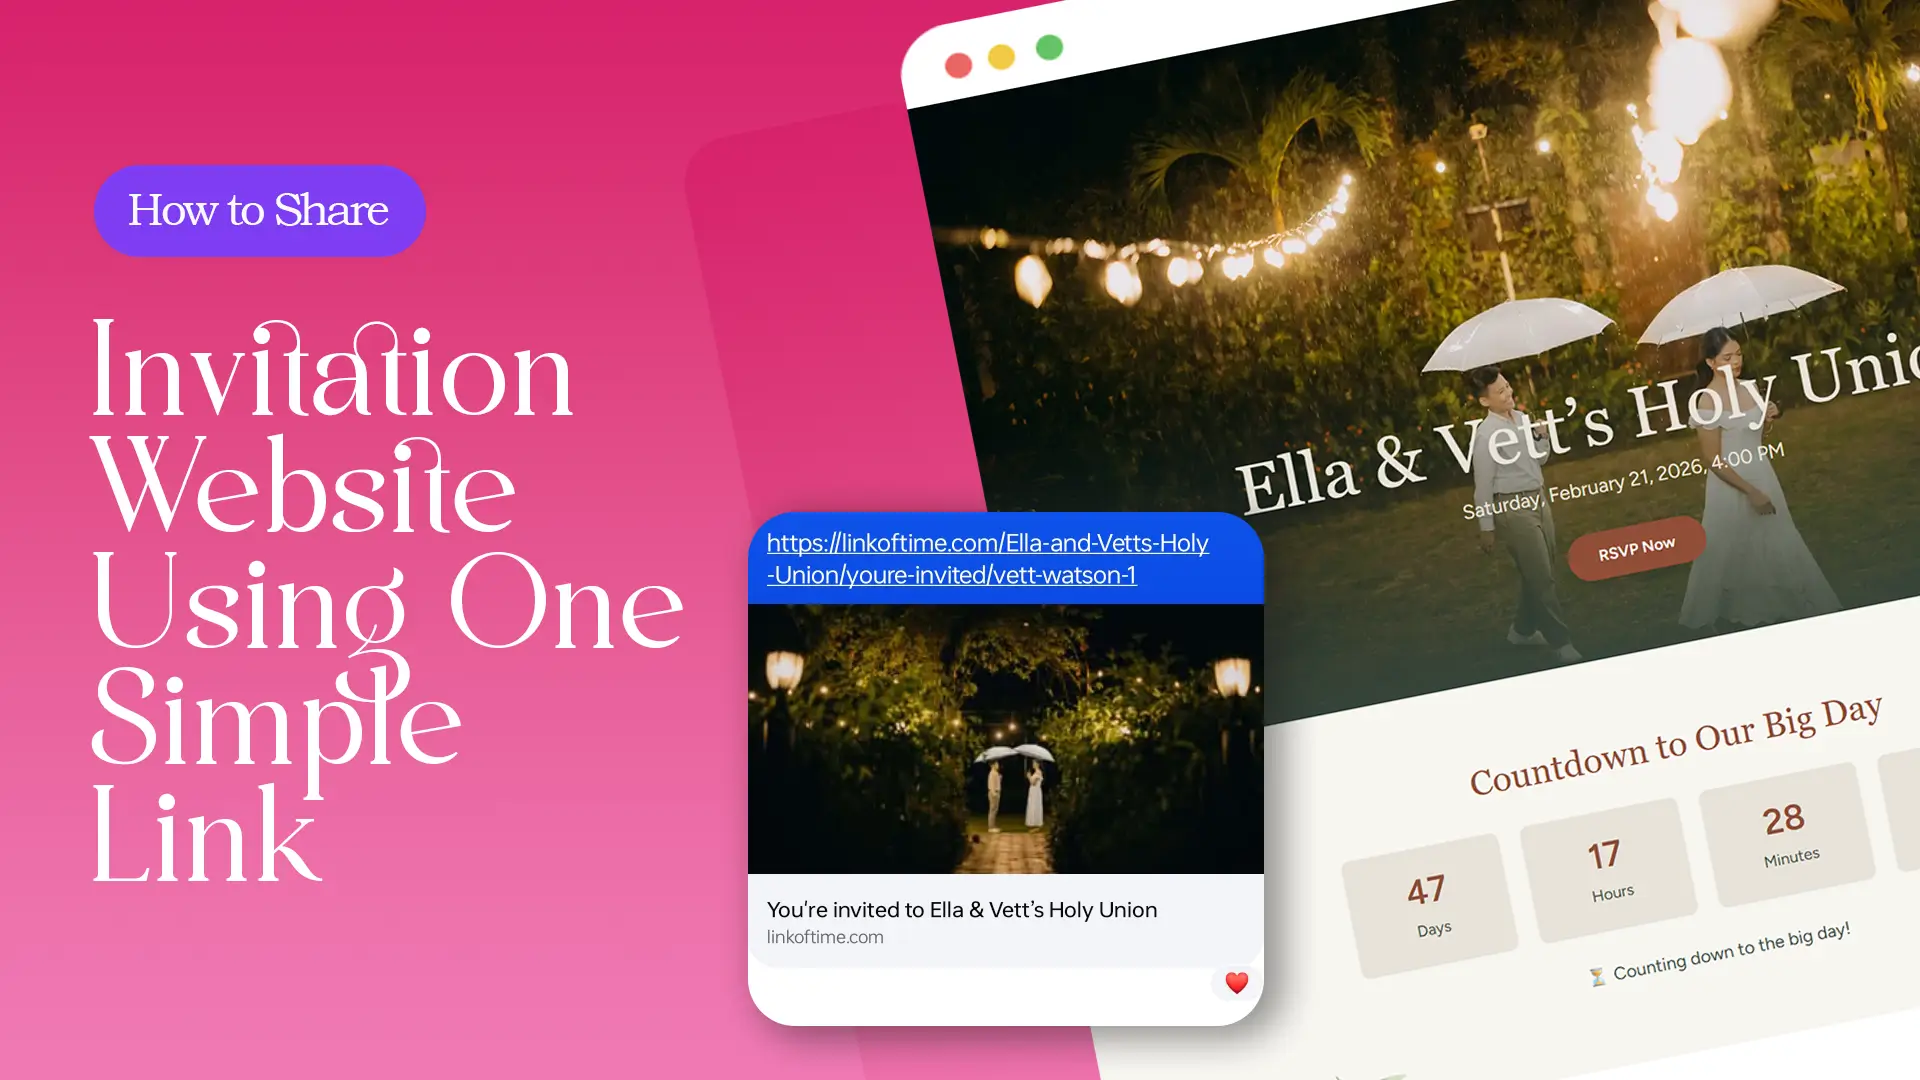
Sharing event details shouldn’t feel like a full-time job. Yet many hosts still juggle multiple messages, screenshots, and follow-ups just to make sure everyone is informed. A better solution exists: sharing an invitation website using one simple link.
Sharing event details shouldn’t feel like a full-time job. Yet many hosts still juggle multiple messages, screenshots, and follow-ups just to make sure everyone is informed. A better solution exists: sharing an invitation website using one simple link.
Why One Invitation Link Changes Everything
Traditional invitations scatter information across different platforms—messages for the date, images for the venue, reminders for RSVPs. A single invitation website replaces all of that.
With one link, guests can:
- Access complete event details anytime
- RSVP without extra steps
- Revisit updates without asking the host
This approach is especially useful for hosts managing busy schedules or large guest lists.
For a broader view of why this format works so well, find more about centralized event pages.
What Makes a One-Link Invitation Website Effective
Always Up to Date
Once your invitation website is live, you don’t need to resend updates. Any change you make—time, venue, or instructions—appears instantly on the same link.
This prevents:
- Conflicting information
- Missed updates
- Repetitive guest questions
Accessible on Any Device
A well-built invitation website opens directly in a browser. Guests don’t need to download apps or create accounts, making it easy for all age groups to use.
According to Google’s mobile usability guidelines, mobile-friendly pages significantly improve user engagement and accessibility.
How to Share an Invitation Website Step by Step
Step 1: Create and Review Your Invitation Website
Before sharing, make sure your event page includes:
- Accurate date, time, and location
- Clear event description
- RSVP options if needed
Preview your invitation on mobile to ensure everything looks clean and readable.
Step 2: Use the Same Link for All Channels
One of the biggest advantages of a share invitation link is flexibility. You can send the same link through:
- Messaging apps
- Email invitations
- Social media posts or private groups
Guests always return to the same page, no matter how they receive it.
Step 3: Personalize Links When Available
Some invitation websites allow personalized guest links. When guests open their invitation, they may see:
- Their name displayed
- RSVP options specific to them
- Assigned seating after confirmation
This personalization creates clarity and avoids confusion on event day. You can explore how guest-specific links improve organization in “Invitation Website for Events: Features, Benefits & Examples.”
Step 4: Share Early and Send Gentle Reminders
Share your invitation link as soon as your details are ready. This gives guests time to plan and respond.
If reminders are needed:
- Send the same link again
- No need to explain updates—guests see them automatically
This keeps communication polite and efficient.
Best Practices for Sharing an Invitation Link
- Keep your message short and friendly
- Avoid sending screenshots—always send the link
- Pin the link in group chats for easy access
- Encourage guests to bookmark the page
Event planning experts at The Knot emphasize that centralized digital invitations reduce guest confusion and increase response rates.
Frequently Asked Questions (FAQ)
Conclusion: One Link, Less Stress
Sharing an invitation website using one simple link keeps event planning clear, organized, and stress-free. Instead of juggling messages and reminders, you give guests one reliable place for everything they need.
👉 Create your invitation website with Link of Time today and experience how powerful one simple link can be.
Comments
No comments yet.