How to Make a Free Event Invitation Website in Minutes
By Link of Time • Published Feb 11, 2026 • Updated Feb 16, 2026
Creating invitations used to mean printing cards, chasing RSVPs, and answering the same questions over and over. Today, there’s a faster and smarter way. With a free event invitation website, you can design, share, and manage your entire event in just minutes—no technical skills required.
In this guide, you’ll learn exactly how to create a free invitation website, what features to focus on, and how to get your event online quickly using Link of Time.
Why Choose a Free Event Invitation Website?
A free event invitation website gives you flexibility that traditional invitations can’t match. Instead of sending static information, you create a live page that guests can revisit anytime.
Key advantages include:
- One shareable link for all event details
- Easy updates without re-sending invitations
- Built-in guest interaction tools
For a deeper explanation of why this approach works for all events, you can read our post about Why Every Event Needs an Online Invitation Website.
What You Need Before Getting Started
Before creating your invitation website, gather the essentials:
- Event type (birthday, wedding, corporate event, etc.)
- Date, time, and location
- Short event message or welcome note
- Guest list (optional at first)
Having these ready helps you build your site in minutes instead of hours.
Step-by-Step: How to Make a Free Event Invitation Website
Step 1: Choose Your Event Category
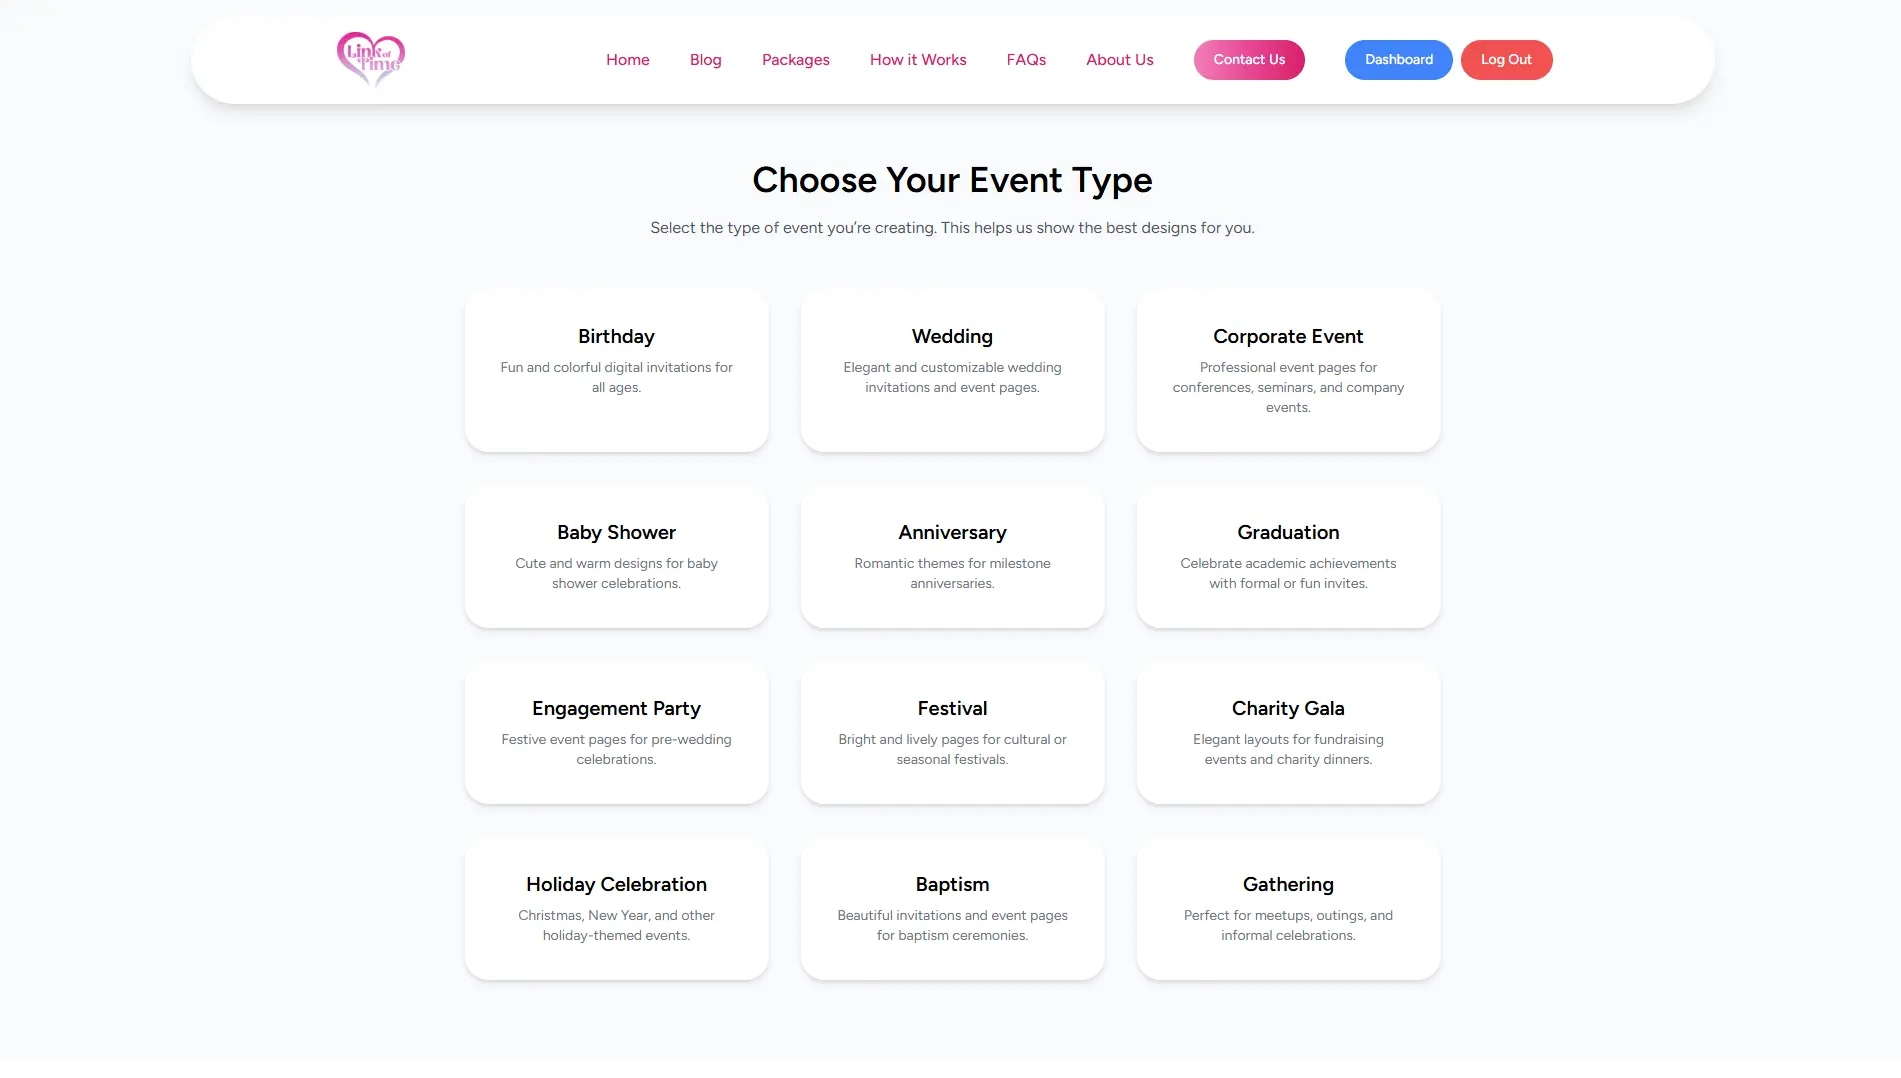
Start by selecting the type of event you’re hosting. Categories help tailor the design and structure of your invitation website.
Common options include:
- Birthdays
- Weddings
- Corporate events
- Family gatherings
Choosing the right category ensures the layout fits your event’s tone.
Step 2: Select a Template That Matches Your Style
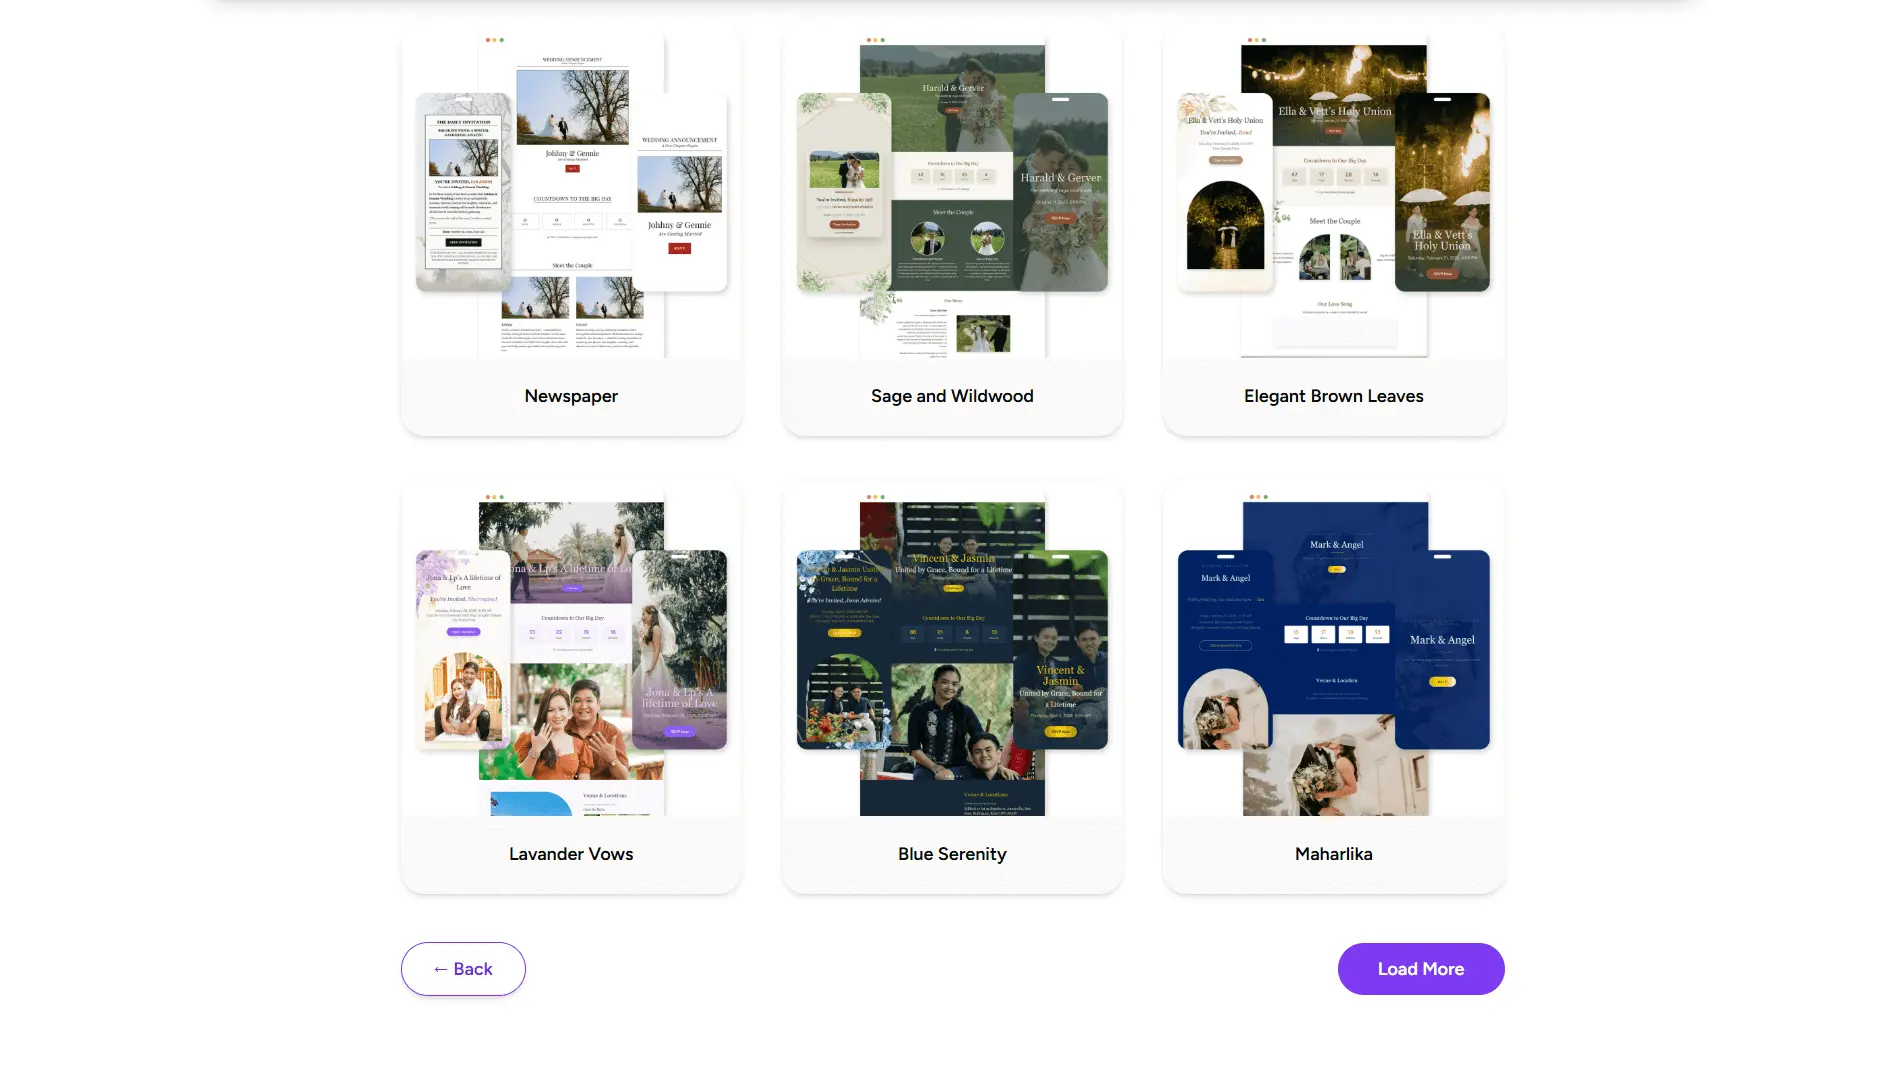
Templates save time and eliminate design guesswork. Pick one that aligns with your event’s vibe—formal, fun, minimalist, or festive.
Look for templates that:
- Are mobile-friendly
- Clearly highlight key details
- Allow easy customization
Template selection plays a big role in guest engagement, especially for first impressions.
Step 3: Add Event Details and Customize
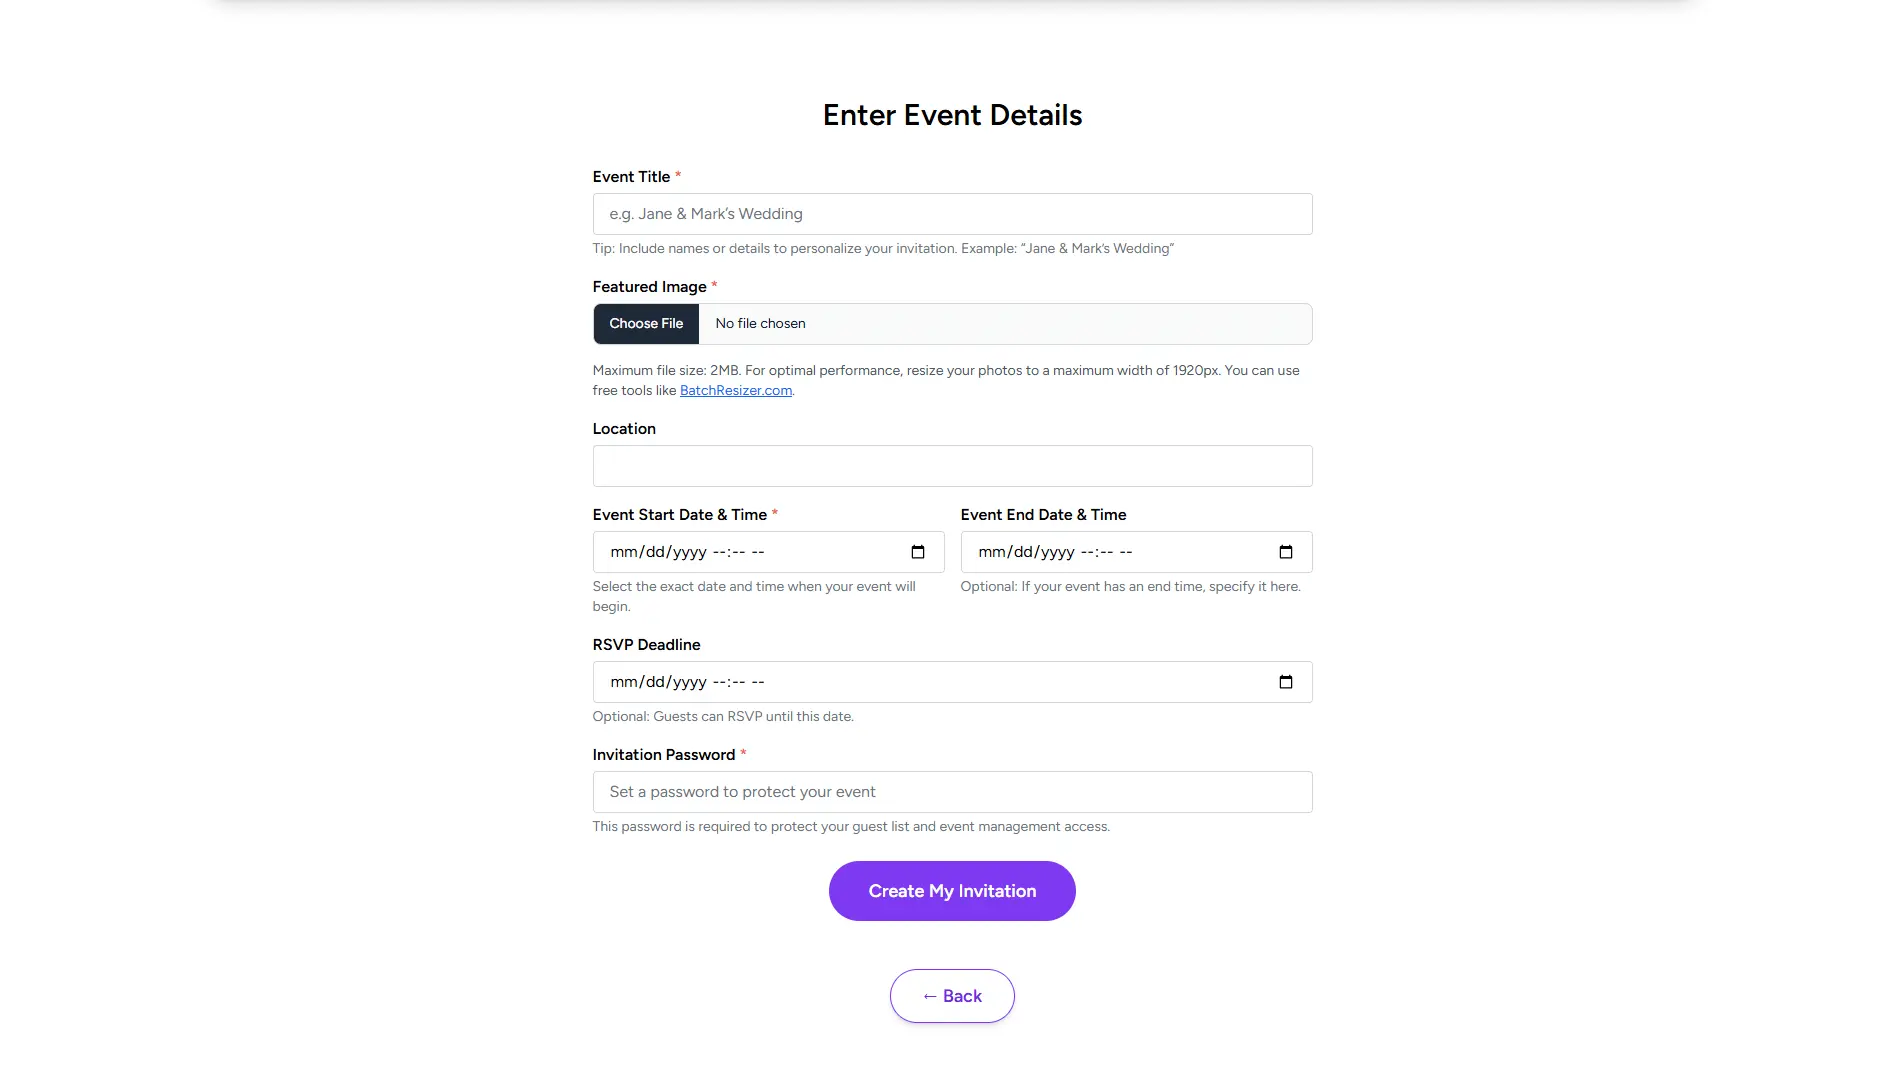
Now it’s time to personalize your invitation website. Add:
- Event title and description
- Date, time, and venue details
- Optional notes like dress code or schedule
Keep text clear and concise so guests can quickly find what they need.
Step 4: Enable Guest and RSVP Features
One of the biggest benefits of a free invitation website is built-in guest interaction. Enable RSVP features so guests can respond directly through the site.
This allows you to:
- Track attendance in real time
- Identify pending responses
- Prepare more accurately
To understand how RSVPs reduce planning stress, you can find RSVP tracking tools to help you manage your event.
Step 5: Share Your Invitation Link
Once everything looks good, your invitation website is ready to share. Send the link via:
- Messaging apps
- Social media
Guests can open the same link anytime to check updates or confirm details.
Tips to Launch Your Invitation Website Even Faster
- Start with a template instead of a blank design
- Keep your message short and friendly
- Add guests gradually—your site works even before the list is complete
- Review your invitation on mobile before sharing
According to TechRadar’s guide on digital event tools, mobile-friendly event pages significantly improve response rates.
Frequently Asked Questions (FAQ)
Conclusion: Create Your Event Website in Minutes
A free event invitation website removes the complexity from event planning. With one link, you can share details, collect RSVPs, and keep guests informed—without extra tools or costs.
👉 Create your free invitation website with Link of Time today and get your event online in minutes.
Comments
No comments yet.