How to Send Invitations with Guest Names Automatically
By Link of Time • Published Jun 01, 2026 • Updated Jun 01, 2026
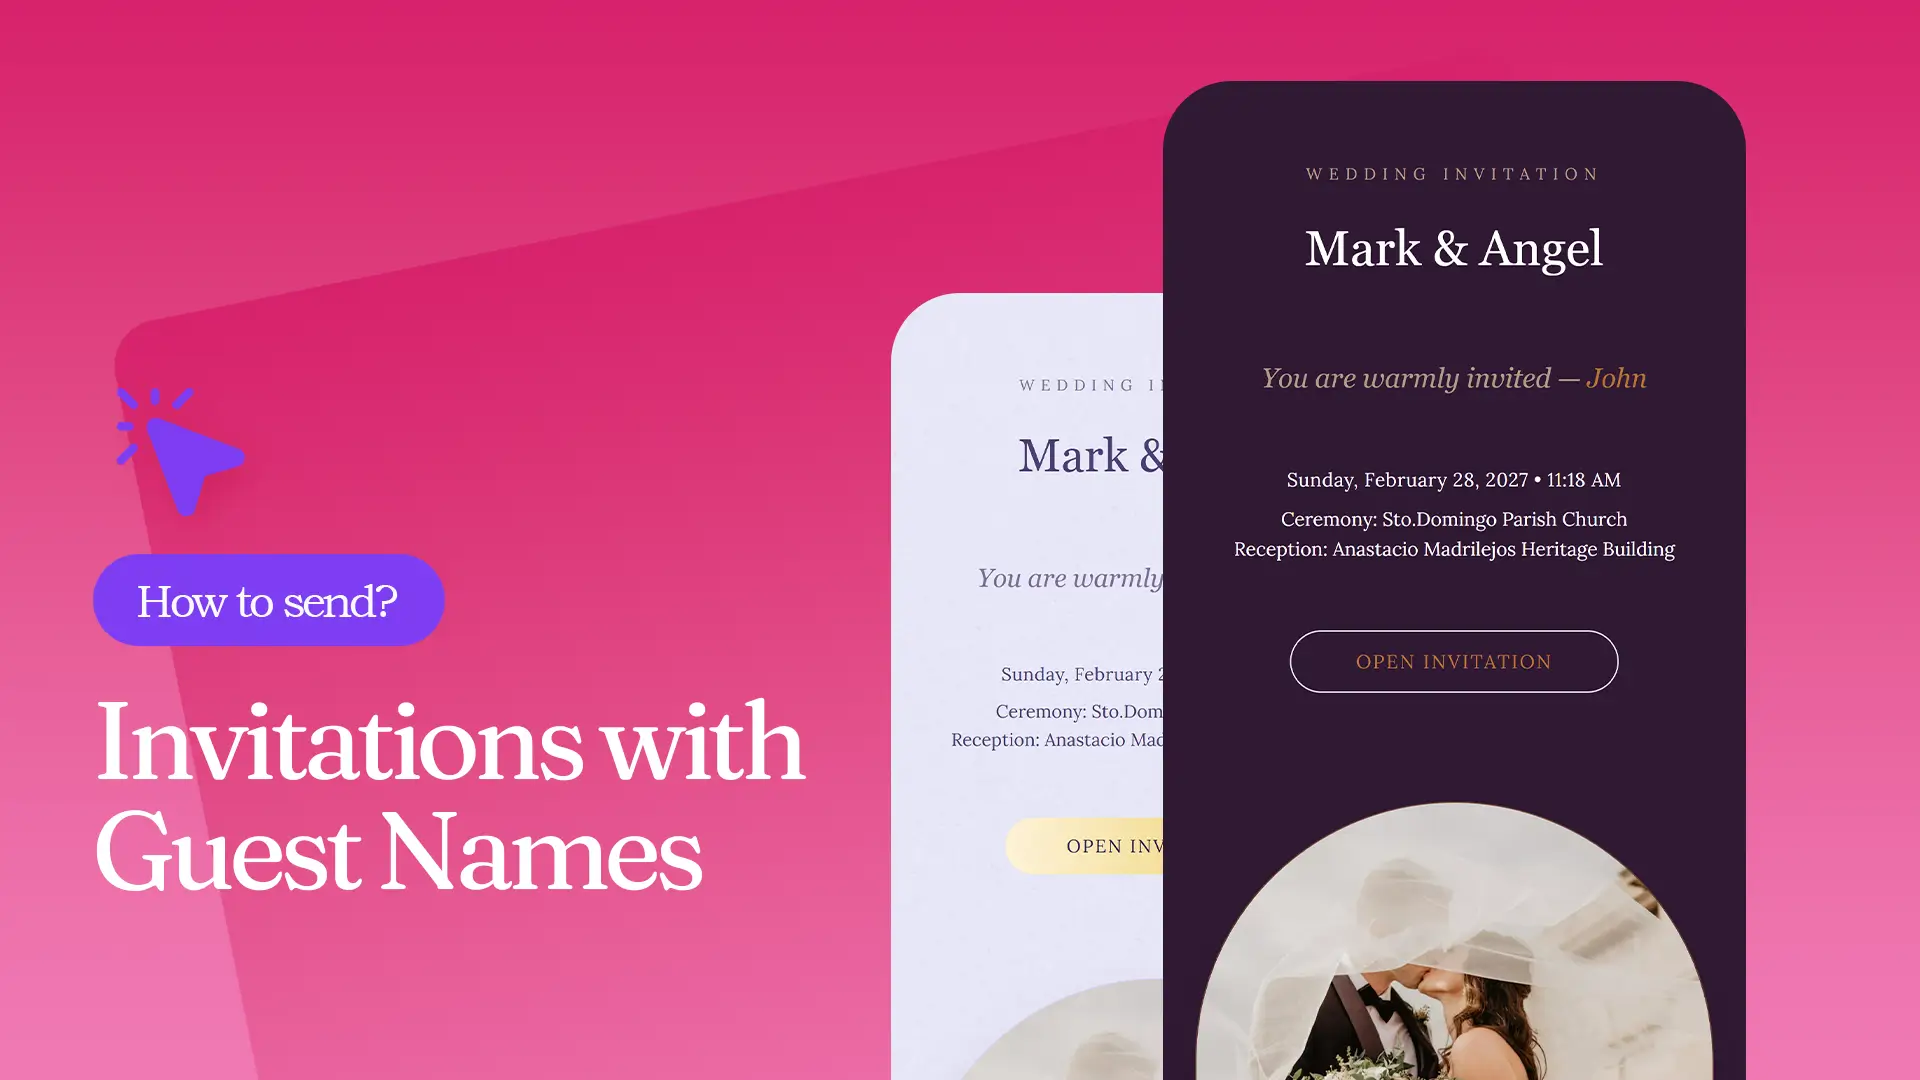
Personalized invitations create a better guest experience and make event communication feel more thoughtful. Instead of sending the same generic invitation to everyone, you can automatically display each guest’s name when they open their invitation link. This approach makes guests feel recognized while helping hosts manage RSVPs more efficiently.
In this guide, you'll learn how to send invitations with guest names automatically using Link of Time's guest management and RSVP features.
Why Personalized Guest Invitations Matter
When guests receive an invitation that includes their name, it immediately feels more personal and relevant. Personalized invitations can increase engagement, reduce confusion, and make RSVP tracking much easier.
This approach works especially well for weddings, birthdays, corporate events, reunions, and VIP gatherings where guest-specific communication matters.
If you're new to invitation websites, you may also find our guide on creating an invitation website with RSVP management (How to Create an Invitation Website with RSVP Management (Step-by-Step)) helpful before setting up personalized invitations.
How Automatic Guest Name Invitations Work
The process is simple:
- Add guests to your RSVP list.
- Generate a unique invitation link for each guest.
- Send the personalized link to the guest.
- The guest opens the link and sees their name displayed automatically.
- Once they confirm attendance, the invitation message updates accordingly.
For example:
Before RSVP confirmation:

After RSVP confirmation:
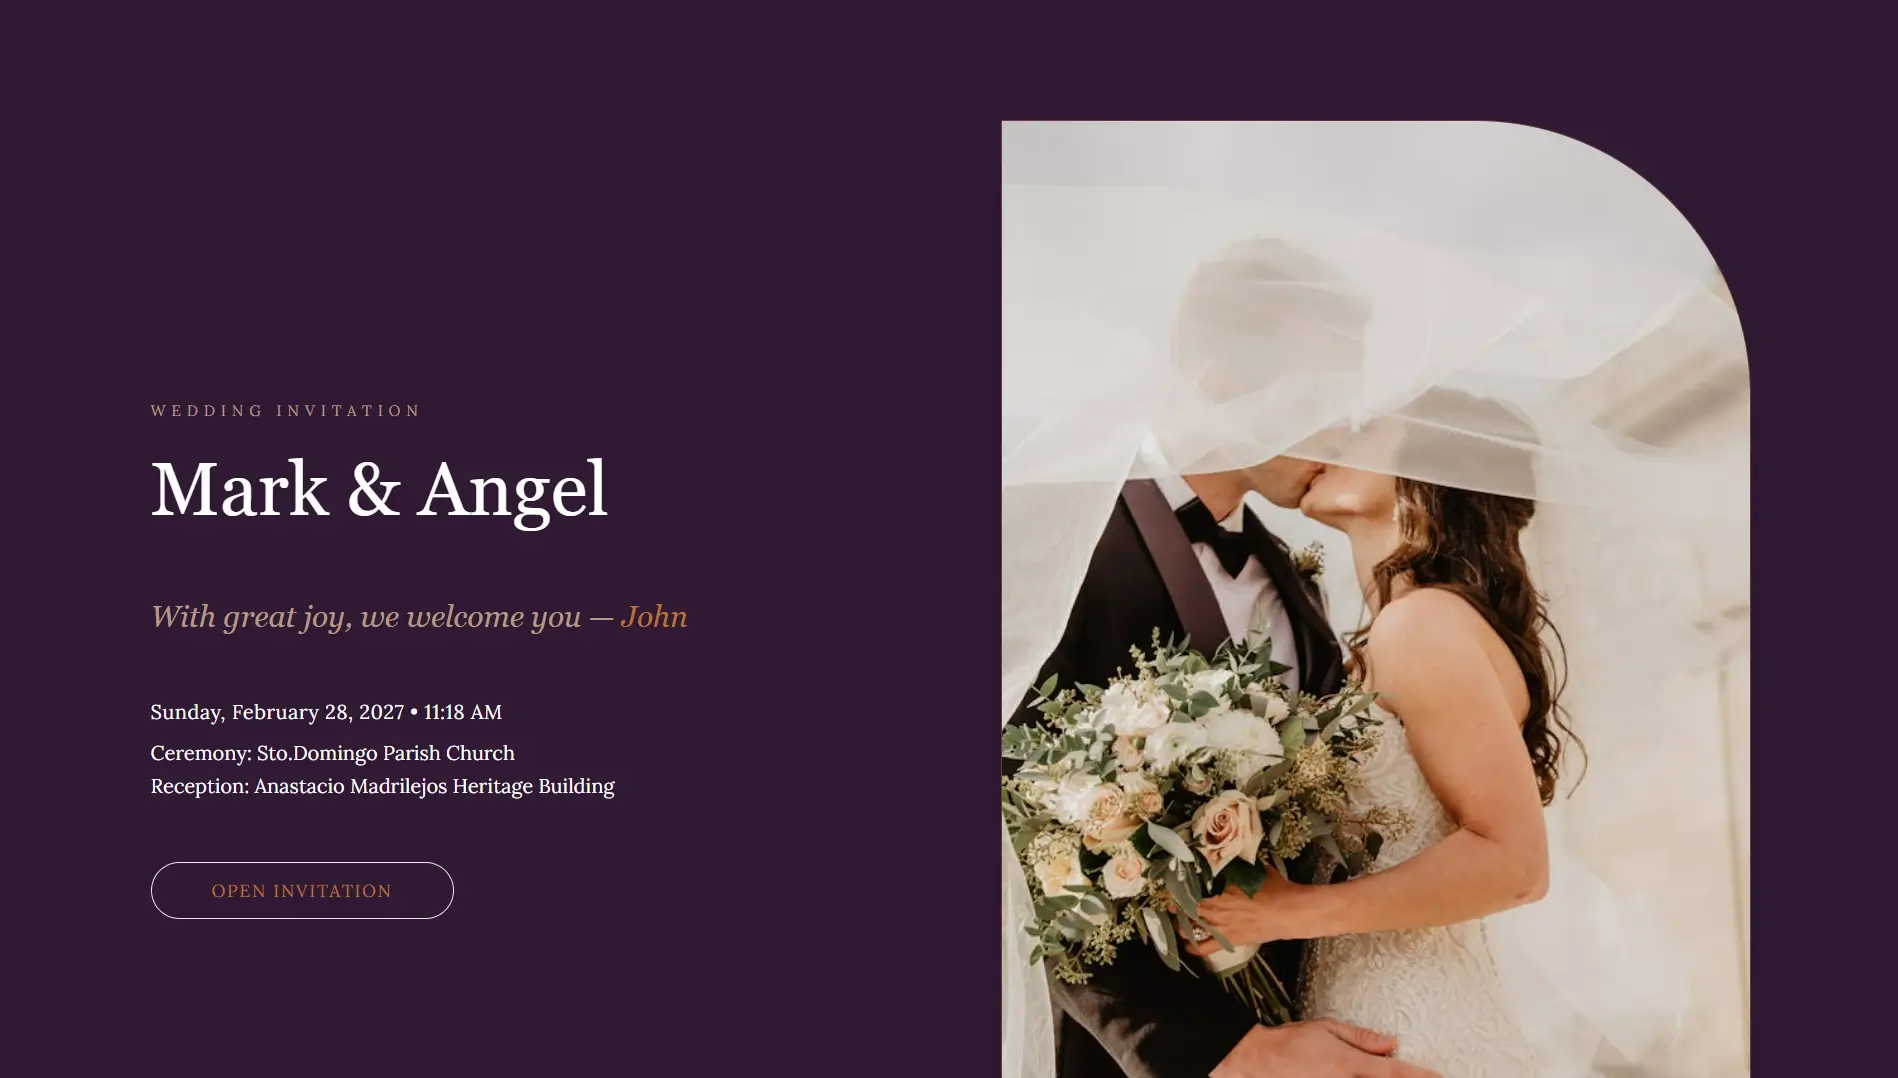
This creates a more personalized experience while allowing hosts to track responses in real time.
Step 1: Add Guests to Your RSVP List
From your event dashboard or sidebar menu, click RSVP.
Next, click Add Guest.
You will see the Add New RSVP form where you can enter:
Guest Information
- Guest Name
- Guest Role (Family, VIP, Friend, etc.)
- Email (Optional)
- Phone Number (Optional)
- RSVP Status (Optional)
- Additional Guests Count
Adding detailed guest information helps you organize attendees more effectively and improves communication throughout the planning process.
For a deeper look at RSVP organization, see guest response tracking strategies (How to Track Guest Responses in Real Time).
Step 2: Upload Guests in Bulk
If you're managing a large event, manually adding guests can be time-consuming.
Instead, click the Bulk Upload button located beside the Add Guest button.
The Bulk Upload RSVPs section allows you to:
Upload a CSV File
Supported format:
name, email, phone, status, guests_count
You can also download the CSV template before importing your guest list.
Enter Guests Manually
If you don't have a spreadsheet ready, simply paste guest information directly into the manual entry section.
Bulk uploads are especially useful for weddings, conferences, company events, and large celebrations.
You can learn more about this feature in our guide on importing guest lists efficiently (How to Upload Guests in Bulk to Your Invitation Website).
Step 3: Copy Each Guest's Personalized Invitation Link
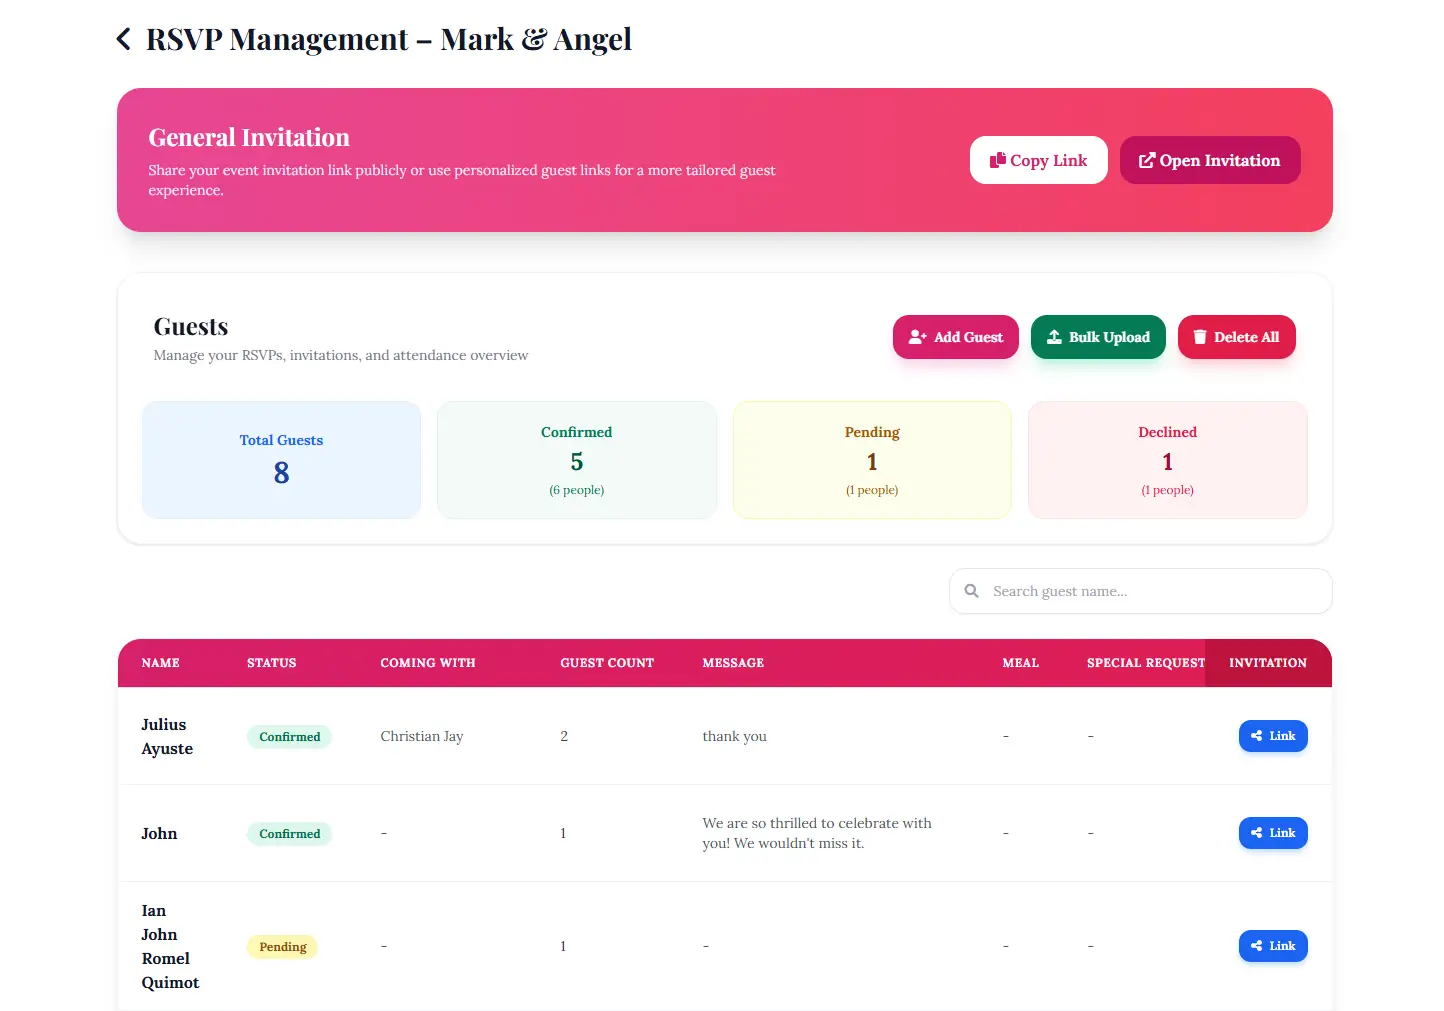
After adding guests, you'll see your guest list displayed in the RSVP table.
At the end of each guest row, click the Copy Link button.
This unique URL is automatically generated for that specific guest.
Each copied link contains personalized guest information, allowing the invitation website to display the correct name when opened.
This is one of the biggest advantages of personalized guest invitation technology compared to sending a single generic invitation link to everyone.
For more details, read how personalized links work (How to Create Personalized Invitation Links for Guests).
Step 4: Send the Personalized Link
Once you've copied the link, send it using your preferred communication channel:
- Messenger
- SMS
- Social media direct messages
Because every guest receives their own unique URL, they will see a personalized invitation experience immediately upon opening the page.
According to event planning best practices from the Executive Event, personalized guest communication can improve attendee engagement and response rates.
What Happens When Guests RSVP?
When guests submit their RSVP through their personalized invitation page, their status is automatically updated within your event dashboard.
This allows you to:
- Track confirmed attendees
- Monitor pending responses
- Identify declined invitations
- Manage guest counts more accurately
The personalized greeting can also change after confirmation, creating a smoother guest experience and providing reassurance that their RSVP has been recorded successfully.
If you're comparing RSVP methods, you may also enjoy reading why online RSVP systems outperform traditional responses (Why Online RSVP Is Better Than Text or Email Responses).
Frequently Asked Questions
Conclusion
Sending invitations with guest names automatically is one of the easiest ways to create a more professional and personalized event experience. By adding guests to your RSVP list, generating unique invitation links, and sharing those links directly, you can streamline guest management while improving engagement and response rates.
Ready to simplify your event planning? Start using personalized invitation links and give every guest a more memorable invitation experience.
Comments
No comments yet.