How to Add Google Maps to Your Invitation Website (Embed + Direct Link Guide)
By Link of Time • Published Feb 24, 2026
Clear directions are just as important as a beautiful design. No matter how elegant your invitation website looks, guests still need one simple thing: accurate, easy-to-open directions. That’s why adding Google Maps to your event page is a must.
In this complete guide, you’ll learn how to add Google Maps to your invitation website, including how to embed the interactive map and why adding a direct Google Maps link is required for the best guest experience.
Important: Google Maps Availability Depends on Your Package
Google Maps integration is available starting from the Lite – Digital Essentials package and above.
If you're using the Free package, Google Maps embedding is not included. You may upgrade your plan anytime if you want to display an interactive map on your invitation website.
You can review the full feature comparison on the official packages page to confirm what’s included in your plan.
Why Add Google Maps to Your Invitation Website?
Adding Google Maps helps:
- Prevent guests from getting lost
- Reduce last-minute calls asking for directions
- Improve mobile navigation access
- Make your event website look more complete and professional
Since most guests open invitations on their phones, having a tap-to-navigate map improves overall experience. Google Maps remains one of the most widely used navigation tools worldwide (see Google’s official guide here: https://support.google.com/maps).
Step 1: How to Embed Google Maps on Your Invitation Website
Embedding the map displays the interactive location directly on your event page.
1. Open Google Maps
Go to https://maps.google.com and search for your venue.
Click on the correct place listing to open its full details.
2. Click “Share” → “Embed a map”
After selecting your venue:
- Click Share
- Choose Embed a map
- Copy the HTML code provided
You’ll see something like this:
<iframe src="https://www.google.com/maps/embed?pb=!1m14!1m8!1m3!1d18590.0171933974!2d119.5557026!3d11.3066344!3m2!1i1024!2i768!4f13.1!3m3!1m2!1s0x33b70500203d4a1b%3A0xfe8498aa908e19bf!2sBeach%20and%20Beeyond%20Eco%20Resort!5e1!3m2!1sen!2sph!4v1771931782022!5m2!1sen!2sph" width="600" height="450" style="border:0;" allowfullscreen="" loading="lazy" referrerpolicy="no-referrer-when-downgrade"></iframe>
3. Copy Only the Map URL
You do not need the entire iframe code.
From the iframe snippet, copy only the link inside the src="" field:
https://www.google.com/maps/embed?pb=!1m14!1m8!1m3!1d18590.0171933974!2d119.5557026!3d11.3066344!3m2!1i1024!2i768!4f13.1!3m3!1m2!1s0x33b70500203d4a1b%3A0xfe8498aa908e19bf!2sBeach%20and%20Beeyond%20Eco%20Resort!5e1!3m2!1sen!2sph!4v1771931782022!5m2!1sen!2sph
Copy just that URL.
4. Paste It in Your Edit Event Form
Now go to your Link of Time dashboard:
- Click Edit Event
- Go through the event creation steps
- Paste the Google Maps embed URL into the Google Map field
- Save your changes
Your interactive map will now appear on your invitation website.
If you need guidance accessing your dashboard, you can refer to updating your event page settings.
Step 2: Add the Direct Google Maps Link (Required)
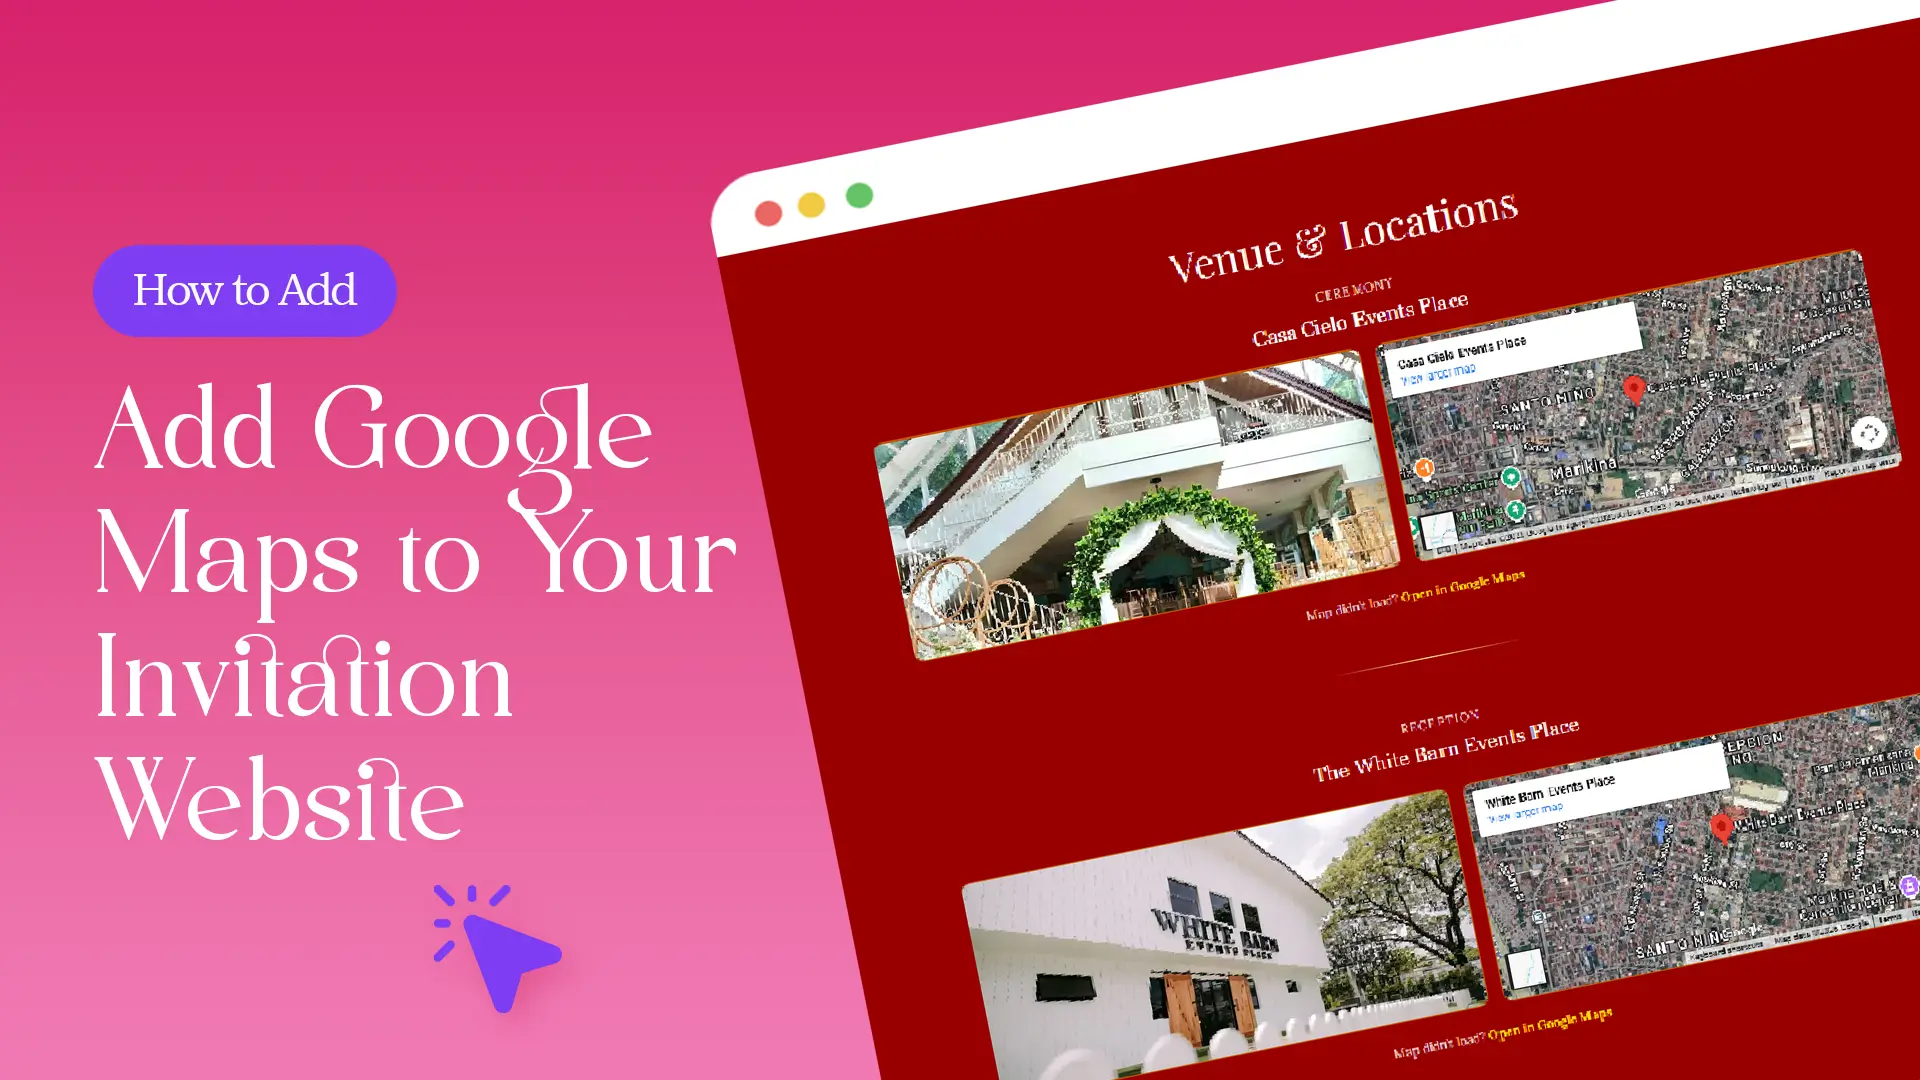
Adding the direct link is important because it appears below your embedded map with the message:
“Map didn’t load? Open in Google Maps”
This ensures guests can still access directions even if the embedded map doesn’t load due to connection issues.
1. Copy the Direct Maps Link
After clicking Share in Google Maps, you will see a direct shareable link beside the embed option. It looks like:
https://maps.app.goo.gl/XXXXXX
Copy this link.
2. Paste It in the Maps Link Field
Inside your Edit Event form:
- Paste the Google Maps link into the designated Maps Link field
- Save your changes
Now, if the embedded map fails to load, guests can simply tap:
“Map didn’t load? Open in Google Maps”
This creates a backup navigation option—something many hosts forget to add.
“Map didn’t load? Open in Google Maps”
This creates a backup navigation option—something many hosts forget to add.
Why You Should Always Add Both
Even if the embedded map works perfectly, adding the direct link provides:
- A backup in case of loading issues
- Faster navigation opening inside the Google Maps app
- Better mobile experience
- Reduced guest confusion
Think of it as a safety net for your event day.
Best Practices When Adding Google Maps
To ensure everything works properly:
- Double-check the correct venue pin
- Test the map on your phone before sending invitations
- Include the written address as a backup
- Update the map immediately if the venue changes
If your event details change, simply update the embed link and map URL in your Edit Event form. Changes reflect in real time, similar to how other event details update (see managing updates after invitations are sent in How to Edit or Update Event Details After Sending Invitations).
Frequently Asked Questions
Final Thoughts
Adding Google Maps to your invitation website is a small step that makes a big difference. By embedding the interactive map and including the direct Google Maps link, you ensure guests can always find your venue—no confusion, no delays.
Log in to your Link of Time dashboard today, update your event, and make directions effortless for every guest.
Comments
No comments yet.