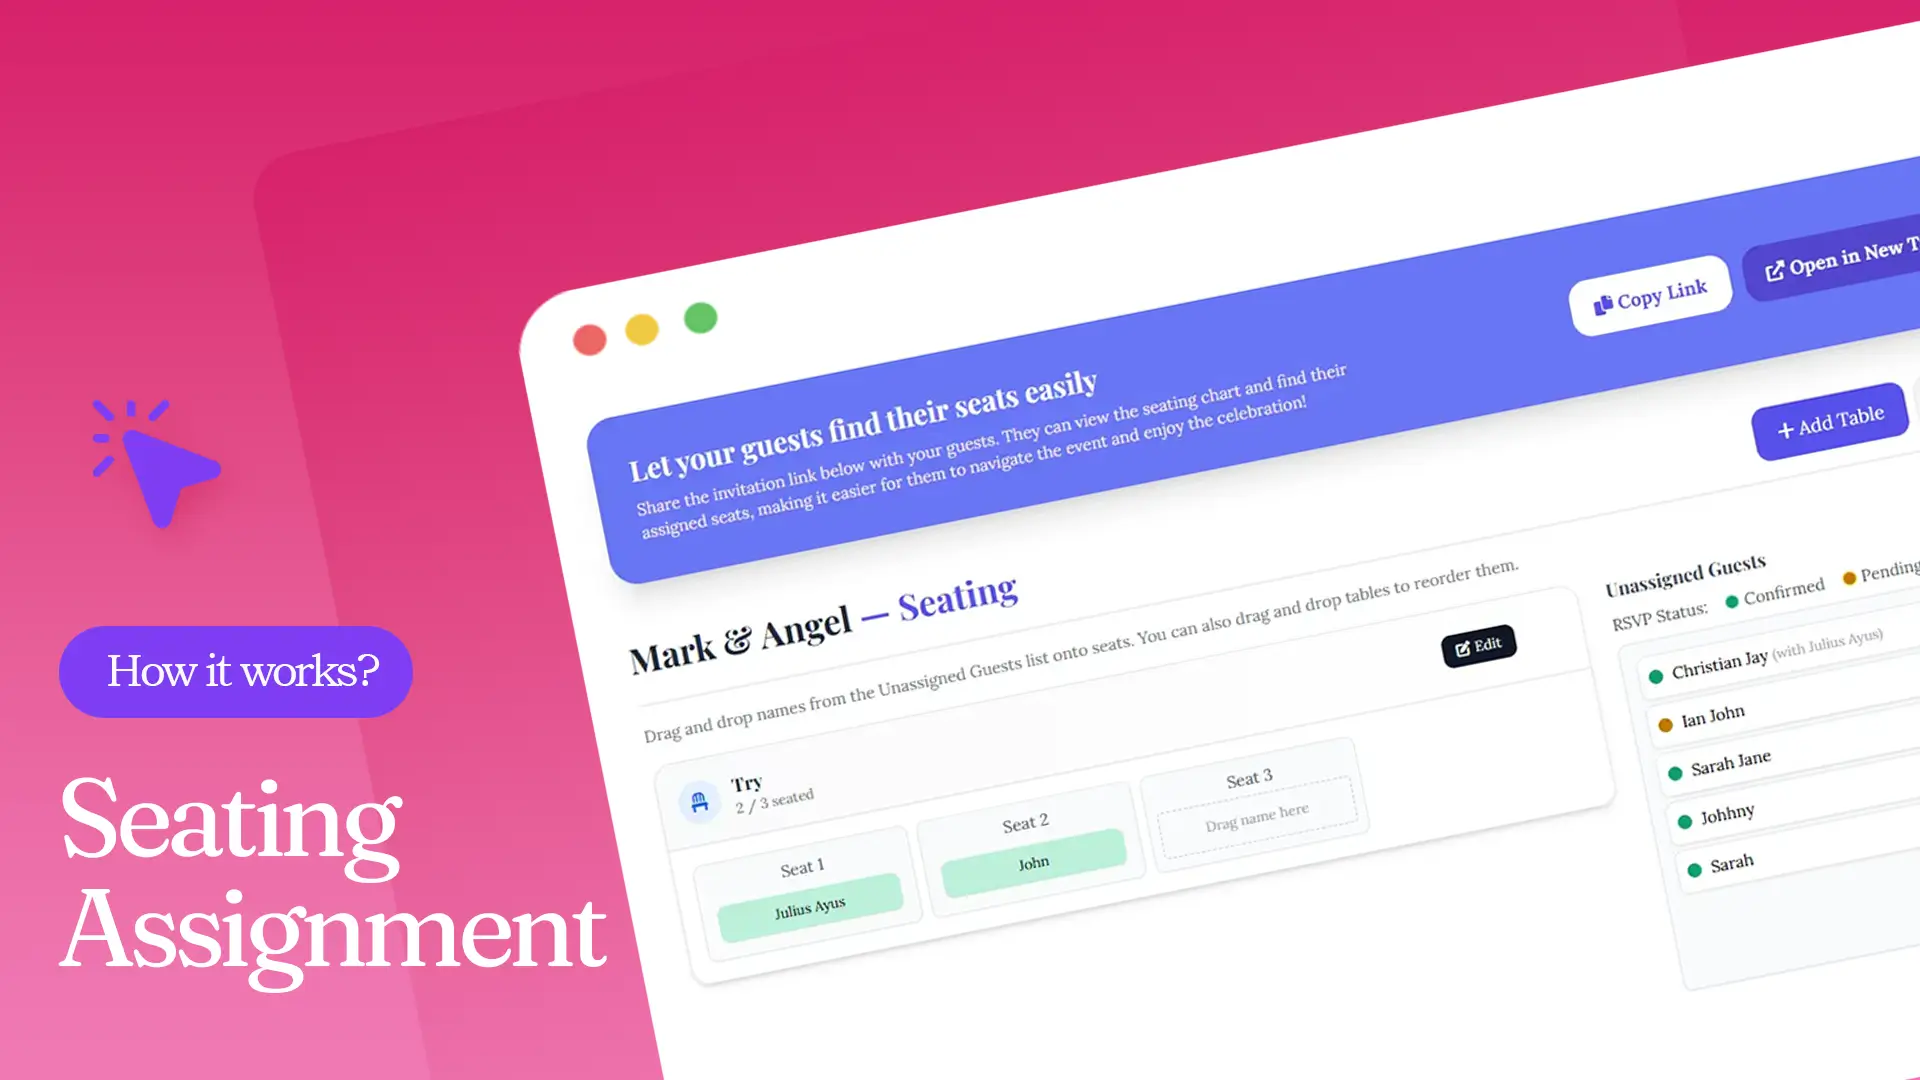
How Seating Assignment Works in an Invitation Website
By Link of Time • Published Jun 01, 2026 • Updated Jun 01, 2026
Planning an event involves more than collecting RSVPs. Once guests confirm attendance, the next challenge is organizing where everyone will sit. Whether you're hosting a wedding, birthday celebration, corporate event, or family gathering, a well-organized seating plan helps create a smoother experience for both hosts and guests.
With Link of Time's seating assignment feature, you can easily assign guests to tables, share a seat finder link, and allow attendees to locate their assigned seats before the event begins.
In this guide, we'll walk through how seating assignment works in an invitation website and how it simplifies event management.
Why Seating Assignments Matter
A seating chart does more than tell guests where to sit. It helps:
- Organize guests efficiently
- Keep families, friends, or VIPs together
- Avoid confusion during event check-in
- Improve guest experience
- Reduce last-minute seating issues
When combined with RSVP tracking, seating assignments become even more effective because you only assign seats to confirmed attendees.
If you're still managing guest responses, you may want to review online RSVP management best practices (How RSVP Management Simplifies Event Planning).
Accessing the Seating Assignment Dashboard
To begin assigning seats, open your event dashboard and click Seating from the event menu or sidebar.
Inside the seating assignment dashboard, you'll see:
Seating Assignment Dashboard
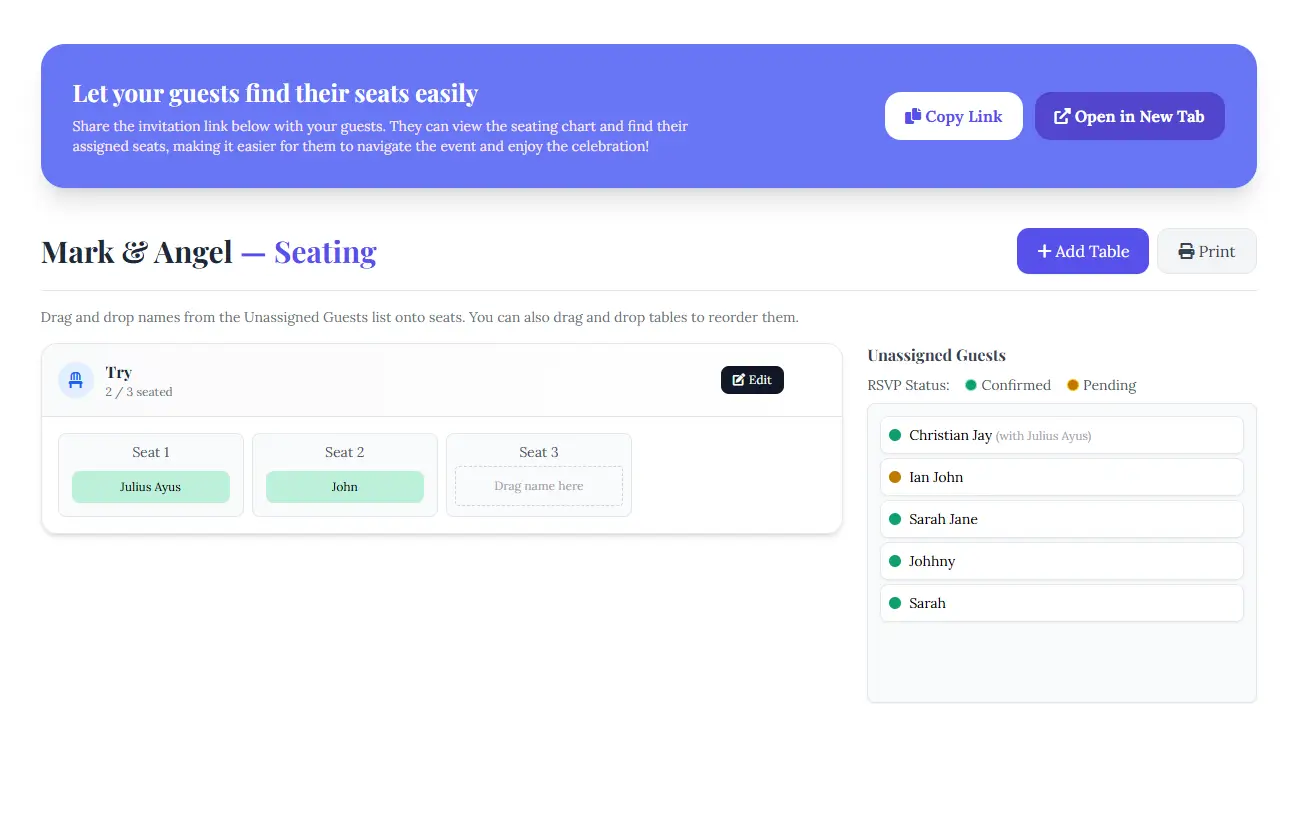
Let your guests find their seats easily
The dashboard includes a shareable seating chart link that guests can use to locate their assigned tables and seats.
Available actions include:
- Copy Link
- Open in New Tab
- Add Table
- Print Seating Chart
You'll also see:
- Assigned tables
- Available seats
- Unassigned Guests panel
- RSVP status indicators
- Seating progress tracker
Guests who have not yet been assigned seats remain in the Unassigned Guests section until you place them at a table.
Step 1: Create a Table
Before assigning guests, you'll need to create at least one table.
Click Add Table.
A form will appear:
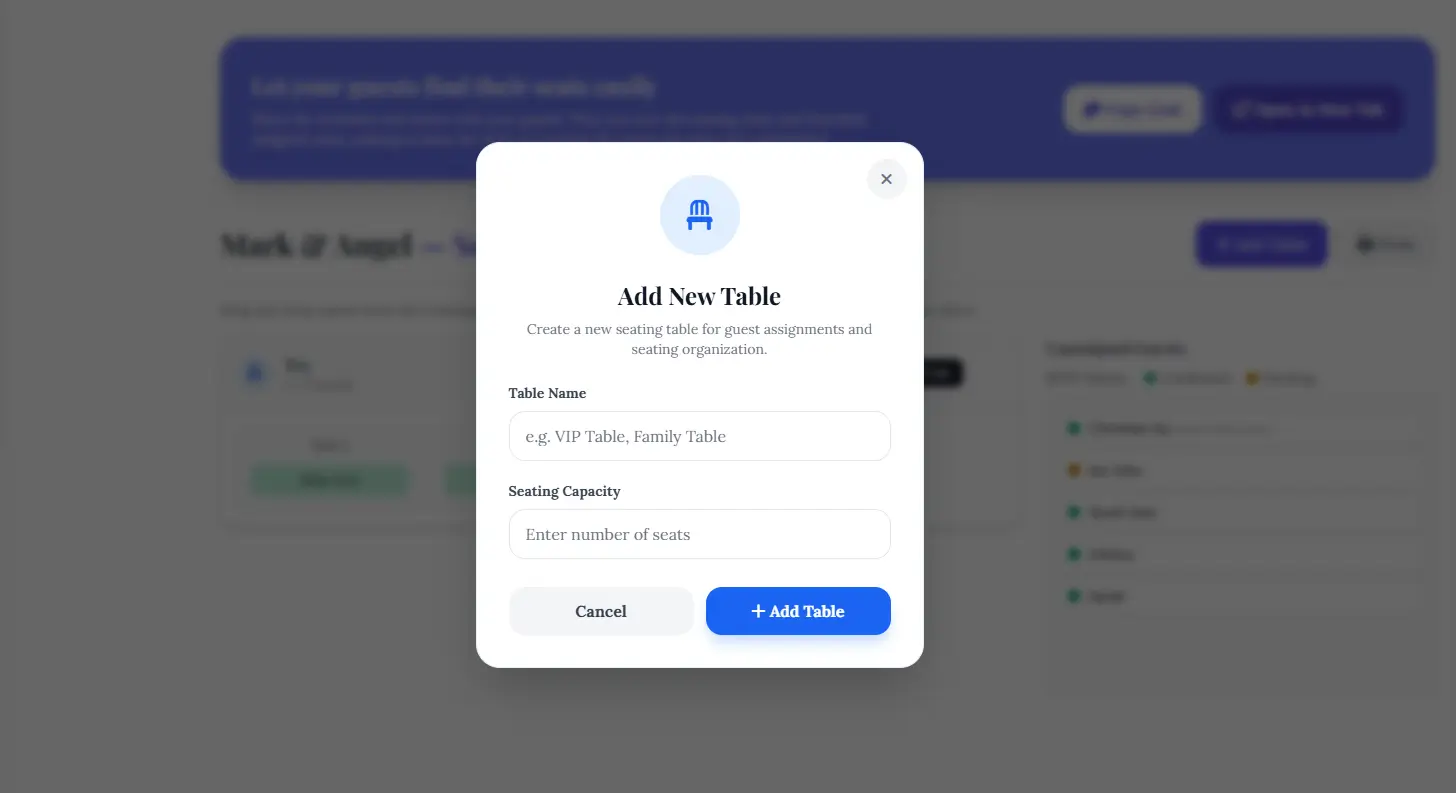
Enter the following details:
Table Name
Enter the following details:
Examples:
Examples:
- VIP Table
- Family Table
- Friends Table
- Sponsors Table
Seating Capacity
Enter the number of seats available at the table.
Then click Add Table.
The system automatically creates the specified number of seats for that table.
For larger events, it's helpful to plan guest groups in advance. Our guide on guest list organization (Free Invitation Website with Guest List, RSVP & Seating) provides additional tips.
Step 2: Assign Guests to Seats
Once tables are created, assigning seats becomes incredibly simple.
The dashboard displays:
- Your tables and seats
- A list of unassigned guests
- RSVP statuses such as Confirmed or Pending
To assign a guest:
- Locate the guest in the Unassigned Guests panel.
- Click and drag their name.
- Drop the guest onto the desired table seat.
For example:
Table: Family Table
Seat 1: Sarah
Seat 2: Michael
Seat 3: Emma
The drag-and-drop system makes it easy to rearrange guests at any time without manually editing records.
You can even move guests between tables if plans change before the event.
Step 3: Share the Seat Finder Link
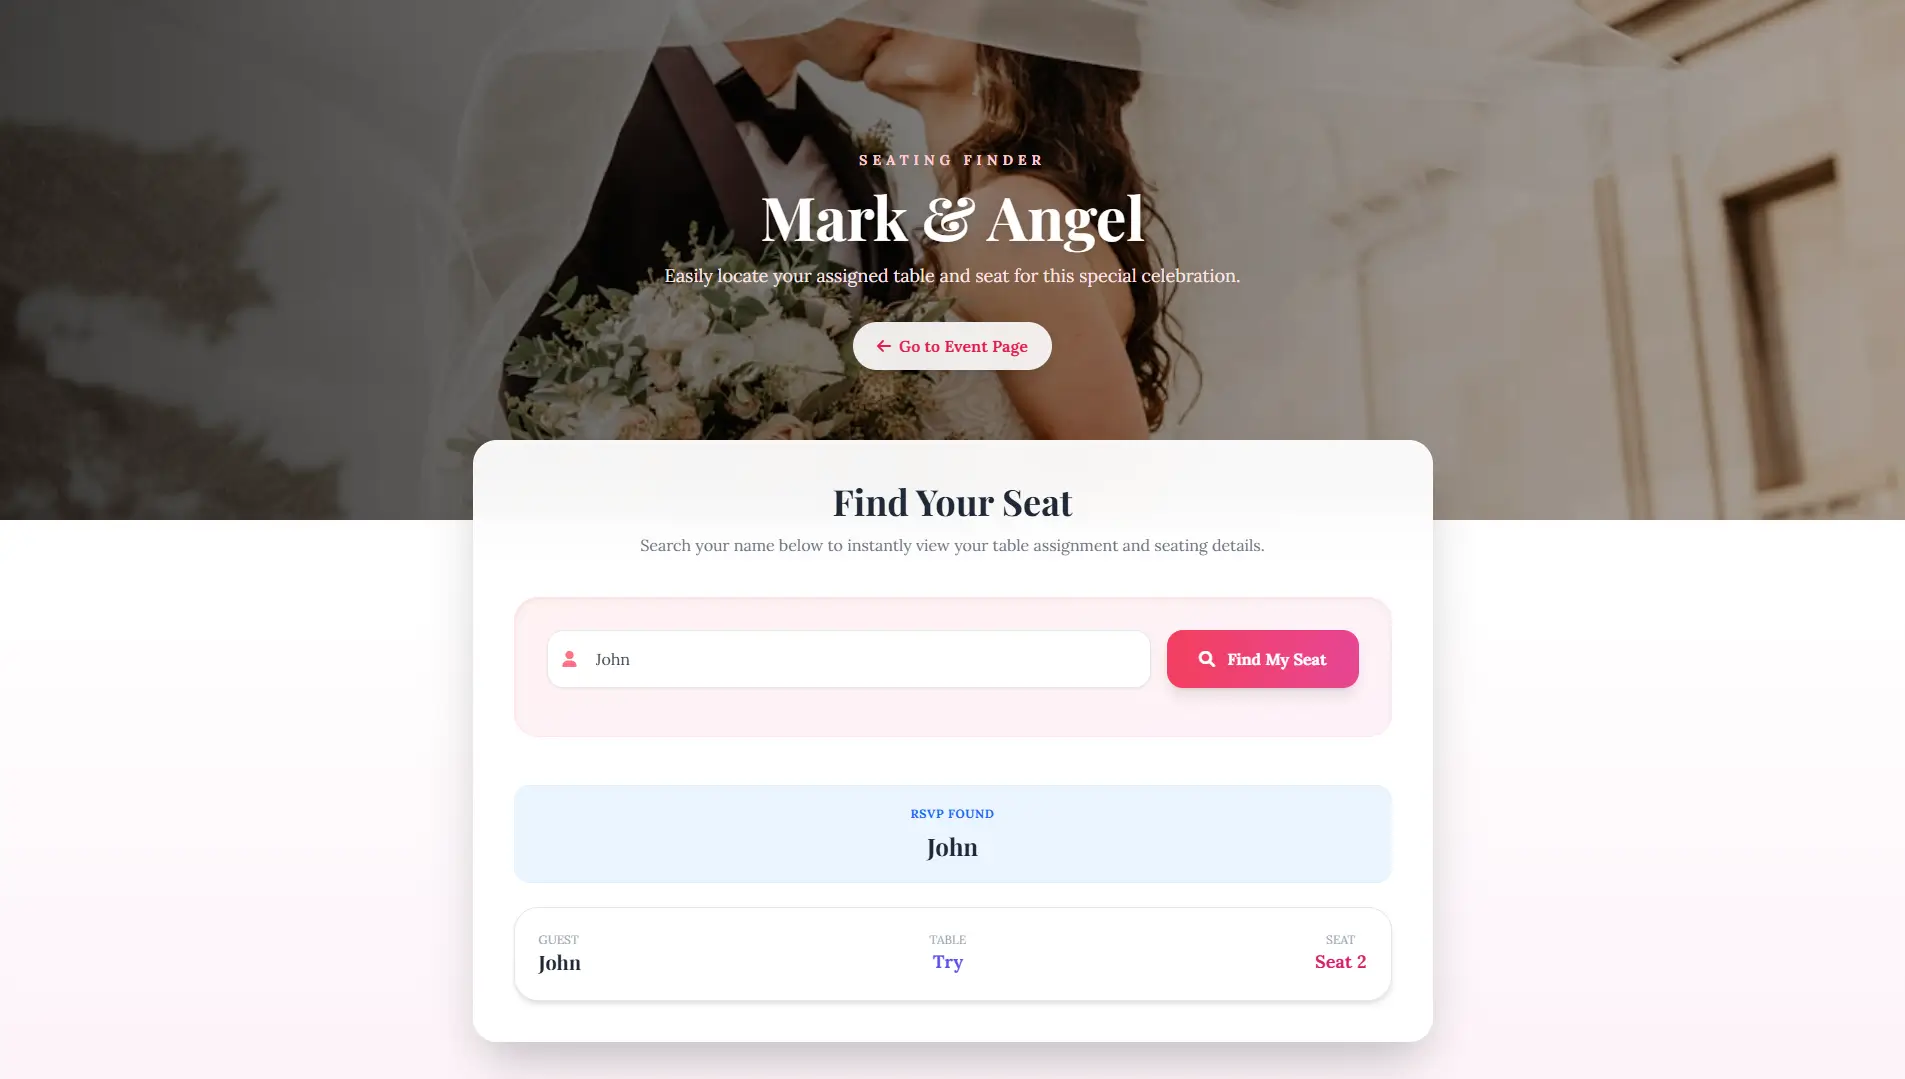
After creating your seating chart, you can share the seating assignment page with guests.
Simply click Copy Link from the seating dashboard.
Guests who open the link can search for their name and instantly view:
- Assigned table
- Seat number
- Seating location
This reduces confusion on the event day and allows attendees to find their place quickly.
For larger celebrations, this can significantly improve guest flow during arrival and check-in.
According to event planning guidance from Brides.com, sharing seating arrangements before an event can help reduce stress for both guests and organizers.
How Seating Assignments Work with Personalized Invitation Links
One of the most convenient features is the integration between seating assignments and personalized invitations.
If you've already created guest-specific invitation links, the assigned seating information can also appear within those invitations.
After the RSVP deadline set in your event:
- Guests open their personalized invitation link.
- Their assigned table and seat information become available.
- They can quickly confirm where they will be seated.
This creates a seamless guest experience from invitation through event day.
To learn more about guest-specific invitation URLs, see personalized invitation links explained (Personalized Invitation Links: What They Are & Why They Matter).
Printing Your Seating Chart
Need a physical copy for event staff or venue coordinators?
Simply click Print from the seating dashboard.
A printed seating chart can be useful for:
- Venue setup teams
- Registration desks
- Ushers
- Event coordinators
Having both digital and printed versions ensures everyone has access to seating information when needed.
Frequently Asked Questions
Conclusion
The seating assignment feature helps transform RSVP data into a complete guest seating plan. By creating tables, assigning guests with drag-and-drop functionality, and sharing a seat finder link, you can make event navigation easier for everyone involved.
Whether you're organizing a wedding, corporate event, birthday party, or family celebration, seating assignments help reduce confusion, improve guest experience, and streamline event-day operations. Start building your seating chart today and give your guests a more organized and enjoyable event experience.
Comments
No comments yet.